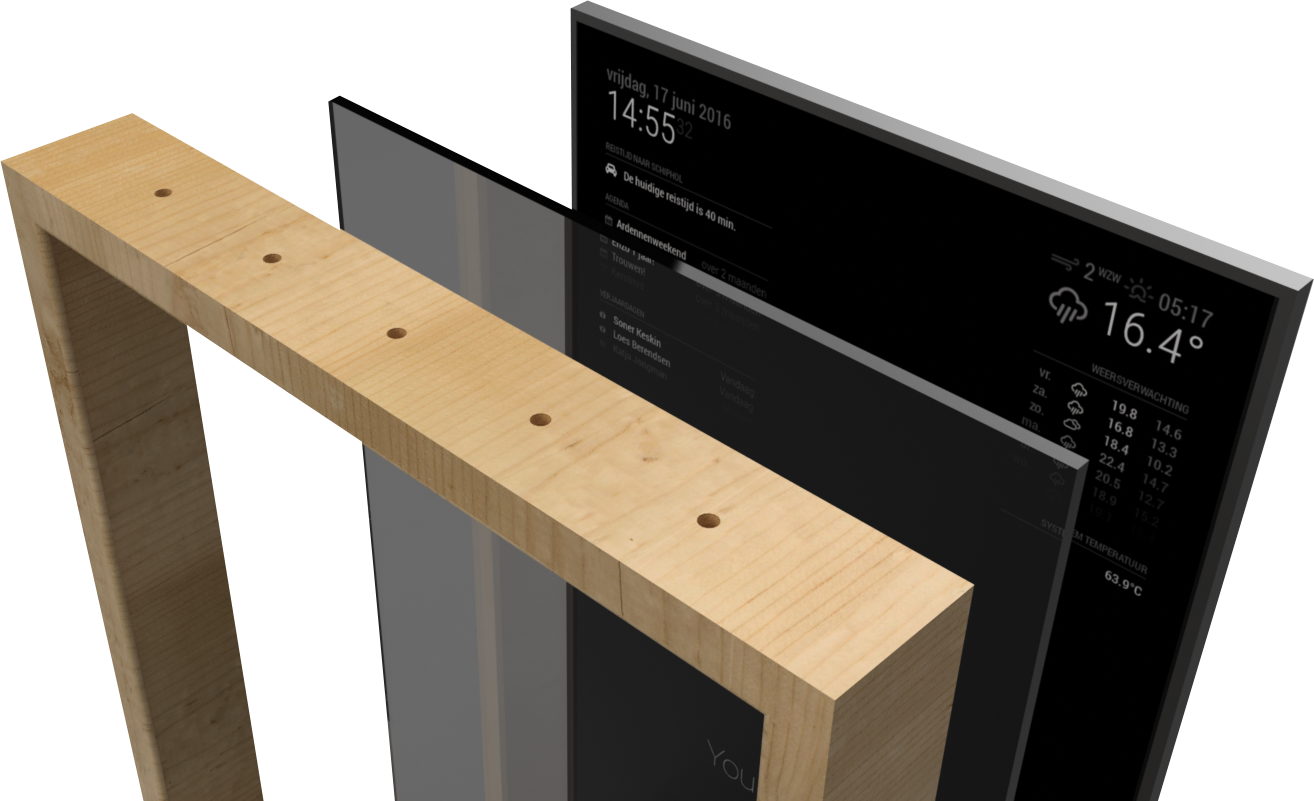
Dual Screen MagicMirror2 on Raspberry Pi 4

This post will guide you to install WhatATheme on your Jekyll site for AWS Domains
Published on August 09, 2023 by Robert McCue
how to setup magicmirror magicmirror2 raspberrypi raspberrypi 4 raspberry pi raspberry pi 4 WhatATheme
3 min READ
Overview
This post is to go over the install and configuration of MagicMirror2 running on two monitors with a Raspberry Pi 4.
Step 1 - Install and configure Raspberry Pi
- Install your Raspberry Pi
- Configure the Raspberry Pi on initial boot
- Configure SSH
- Update packages system packages before we start the slew of installs
sudo apt updateandsudo apt full-upgrade - (optional) Configure Wi-Fi
Step 2 - Install MagicMirror2
- Install_MagicMirror2
- magicmirror as a service
- Remember to ensure that electron processes running in magicmirror directory are also killed after a service stop
ExecStopPost=killall /<PATH_TO_MAGICMIRROR>/node_modules/electron/dist/electron
Step 3 - Install and configure MagicMirror2 modules
Now the fun/pain begins as you make the MagicMirror2 custom to you. Here are some of the modules that I went with as well as some helpful links and notes that came up
Step 4 - Dual Monitors
Running MagicMirror2 and having it span two monitors is a separate project and is not covered here. I wanted to separate the modules from one instance to another, so dual monitors just became dual MagicMirror2 instances.
- make a new directory to house this second MagicMirror2 instance. It cannot be inside your existing MagicMirror2 directory!
- install MagicMirror2 in this new directory. Link from Step 2! I do not recommend making a systemd service file until the second MagicMirror2 instance is running where you want it on the second monitor.
- note the orientation, position, and size of the secondary monitor
- convert that screen size (usually in inches) to pixels
- find and update the
xvalue in the./js/electron.jsfile with the pixel value function createWindow() { let electronSwitchesDefaults = ["autoplay-policy", "no-user-gesture-required"]; app.commandLine.appendSwitch(...new Set(electronSwitchesDefaults, config.electronSwitches)); let electronOptionsDefaults = { width: 800, height: 600, x: 1920, y: 0, darkTheme: true, webPreferences: { contextIsolation: true, nodeIntegration: false, zoomFactor: config.zoom }, backgroundColor: "#000000" };- start/restart the new MagicMirror2 service with the cli
npm run start - now that the positioning is correct for the second instance, let’s make the systemd service file
Lessons learned
- RaspberryPi 4 with “2” Gb RAM is not ideal. Would recommend 4Gb RAM minimum.
- monitoring applications are encouraged since the RaspberryPi 4 with “2” Gb RAM will silent fail modules and restart them sporadically giving the illusion that everything is okay (or cron periodic service restarts)
- frequent updates get compounded as we are running two applications with their own modules
- if you have custom changes to modules and want to keep them, think of a deployment plan and get everything into github